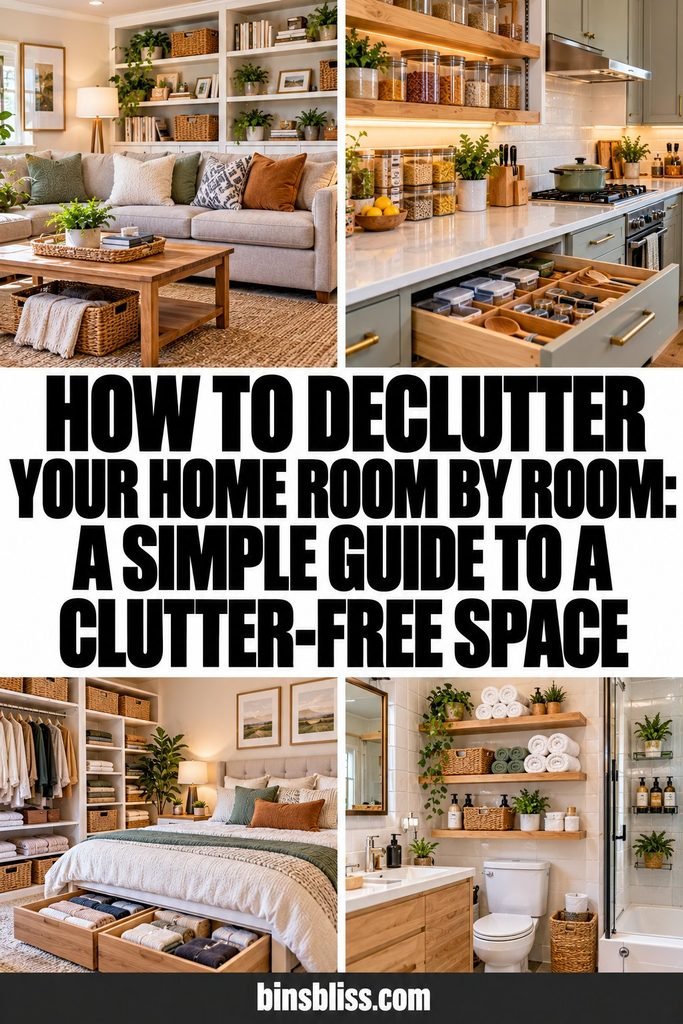
How to Declutter Your Home Room by Room: A Simple Guide to a Clutter-Free Space
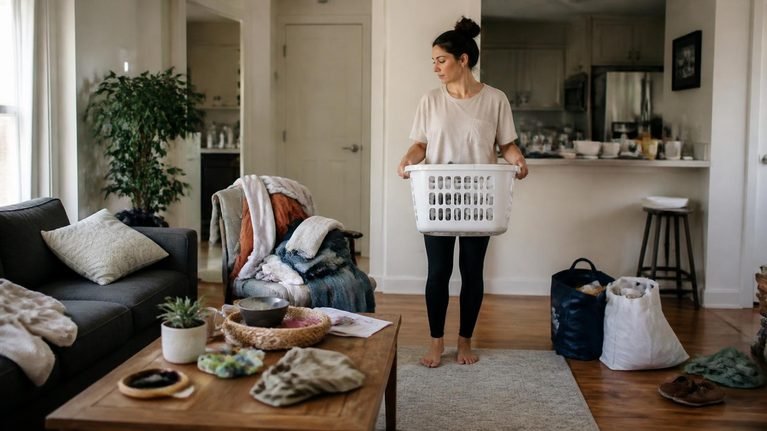
Decluttering your home can feel overwhelming when belongings have accumulated in every room, closet, drawer, and corner.
You might want a cleaner living room, a more organized kitchen, or a bedroom that feels peaceful at the end of a long day, but figuring out where to start is often the hardest part.
I’ve found that breaking a large organizing task into smaller steps makes the process much easier to approach.
Instead of trying to clean the entire house in one weekend, focus on one room at a time. You can sort what you own, decide what deserves to stay, and create a place for the things you actually use.
The best part is that you don’t need to buy expensive organizers or completely redesign your home to make a difference.
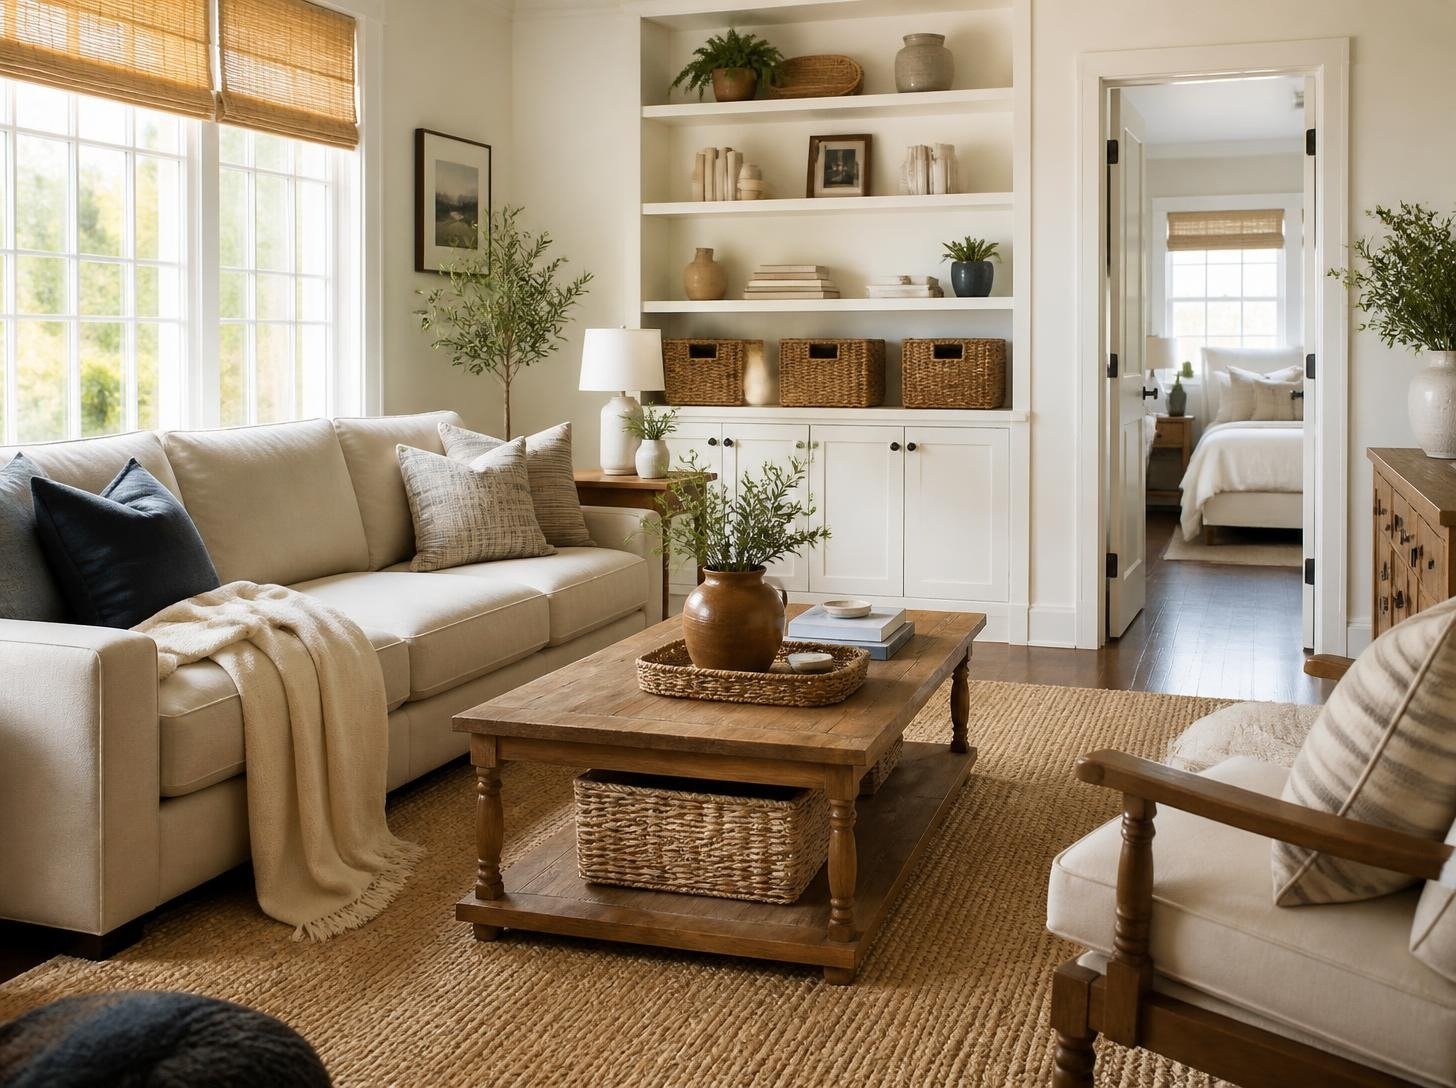
Sometimes, removing unused belongings, clearing crowded surfaces, and changing a few everyday habits can transform how a room looks and feels.
In this guide, I’ll walk you through how to declutter your home room by room, from the living room and kitchen to the bedroom, bathroom, and storage areas.
You’ll also find practical tips for deciding what to keep, what to donate, and how to maintain a more organized home without making decluttering a constant chore.
Why Decluttering Your Home Room by Room Works
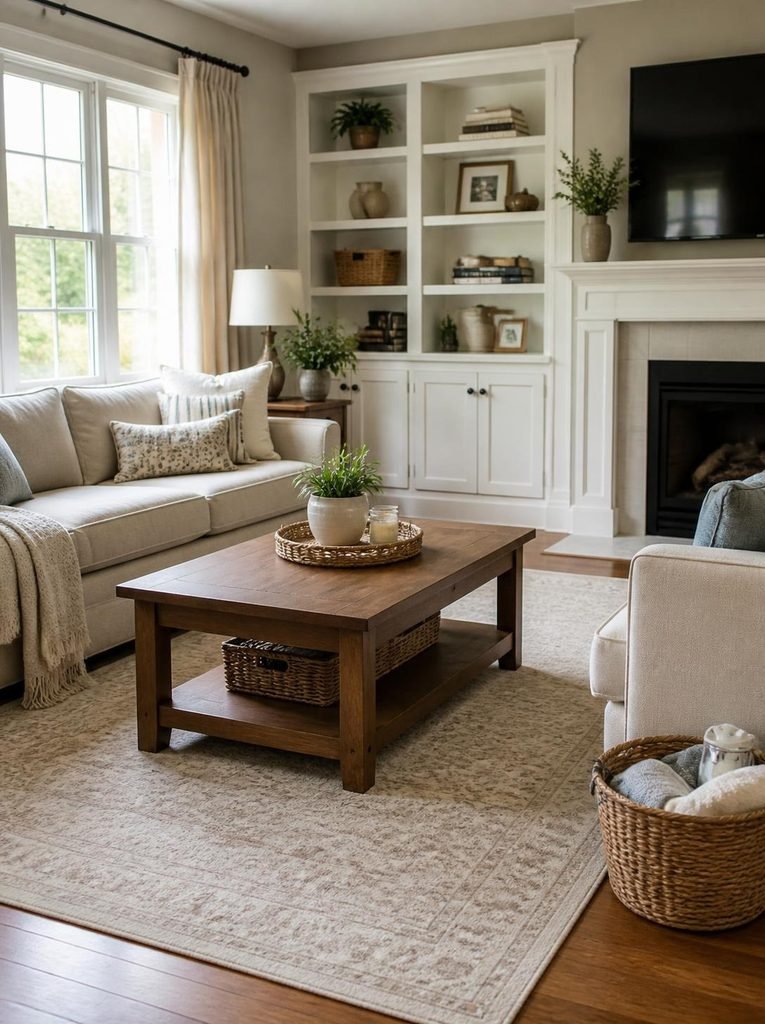
Decluttering becomes more manageable when you have a clear starting point and a realistic plan.
Trying to tackle every room at once can leave you with piles of unsorted belongings and unfinished projects.
Working room by room gives you a smaller goal to complete before moving on to the next area.
This approach also helps you see progress. A cleared kitchen counter or an organized bedroom drawer may seem like a small achievement, but those improvements can motivate you to continue.
Here are a few reasons to try this method:
- Less overwhelm: You can concentrate on one space instead of thinking about the entire house.
- More usable space: Removing things you no longer need creates room for everyday essentials.
- Easier cleaning: Clear floors, countertops, and furniture surfaces are easier to clean and maintain.
- Better organization: You can give frequently used items convenient, designated storage locations.
- More intentional shopping: Seeing what you already own can help you avoid buying duplicates.
- A calmer environment: Reducing visible clutter can make your rooms feel more comfortable and easier to use.
Before starting, gather a few basic supplies: trash bags, boxes or baskets for donations, a container for items that belong in other rooms, and a cloth for wiping surfaces once they are clear.
You don’t need to finish the whole house in one day. Choose a manageable amount of time, complete one small area, and build from there.
1. Declutter Your Living Room
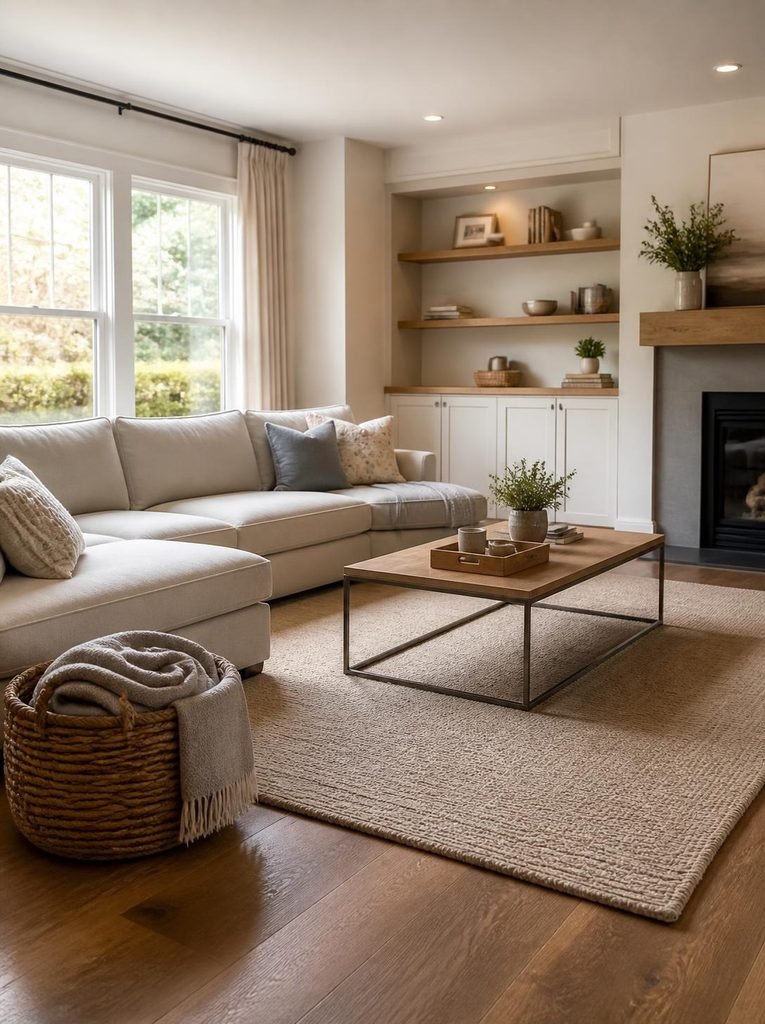
The living room is often one of the first places where clutter becomes noticeable. It’s where family members relax, guests gather, and everyday items tend to accumulate.
Remote controls, magazines, blankets, charging cables, toys, and decorative accessories can gradually take over the available surfaces.
The goal isn’t to make your living room look empty. It’s to create a comfortable space where the items you keep have a purpose and the room remains easy to use.
Start With the Most Visible Surfaces
Begin with the coffee table, side tables, shelves, and television stand. Remove everything that doesn’t belong in the living room and sort the remaining items into categories.
Ask yourself whether each item is useful, meaningful, or something you genuinely enjoy seeing in the space.
What to declutter:
- Old magazines, newspapers, and catalogs you no longer need
- Empty boxes and unnecessary packaging
- Broken remote controls or unused electronics
- Decorative objects that crowd shelves and tables
- Old charging cables and accessories you can’t identify
- Blankets and cushions that are damaged or rarely used
Once the unnecessary items are removed, wipe the surfaces and return only the belongings you want to keep.
Organize Everyday Living Room Essentials
Give frequently used items a designated place. A small basket can hold remote controls, a storage ottoman can conceal extra blankets, and a decorative tray can keep a few everyday accessories together.
If you have children or pets, consider storage options that make it easy to put toys away at the end of the day.
My tip: Leave some empty space on your coffee table and shelves. You don’t need to fill every available surface with decorations. A little breathing room can make your living room feel more spacious without buying anything new.
2. Declutter Your Kitchen and Pantry
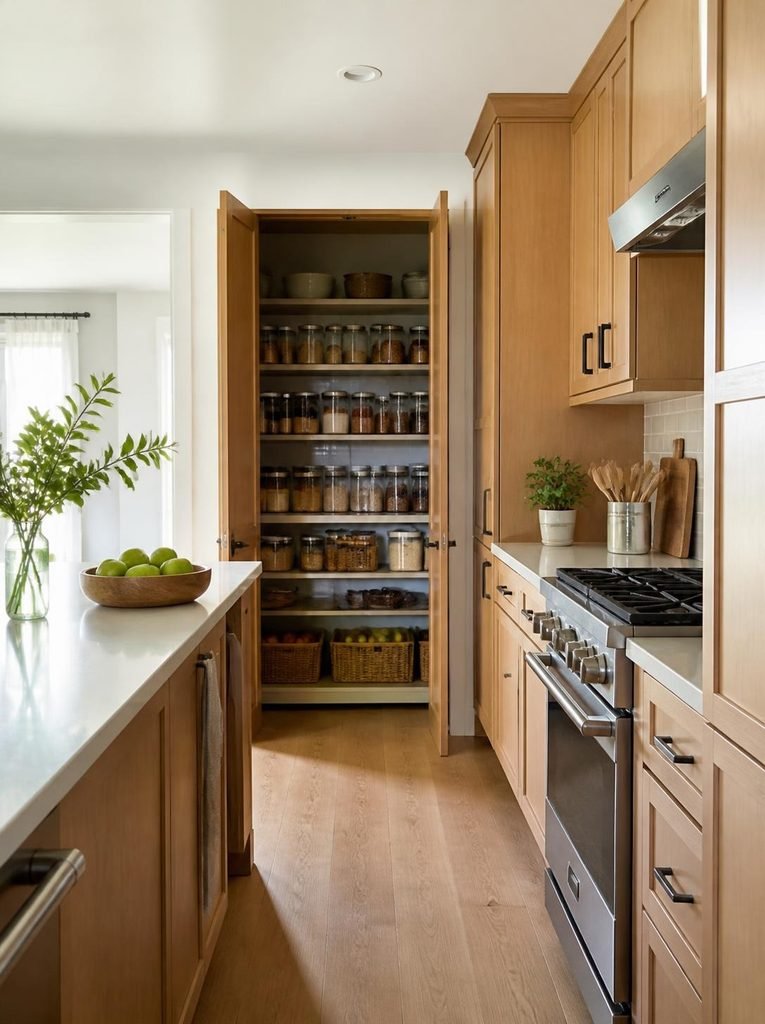
The kitchen can be one of the most challenging rooms to declutter because it contains so many different categories of belongings.
Cookware, utensils, appliances, food containers, spices, pantry ingredients, and cleaning supplies all compete for limited storage space.
A crowded kitchen can also make preparing meals more difficult. When drawers are overfilled and countertops are covered with appliances, even simple cooking tasks may take longer than necessary.
The easiest approach is to work through the kitchen in small sections rather than emptying every cabinet at once.
Sort Your Kitchen Cabinets and Drawers
Start with one drawer or cabinet. Remove the contents, group similar items together, and decide which ones you actually use.
Look for items you can remove, recycle, or donate where appropriate:
- Duplicate utensils and cooking tools
- Chipped or damaged dishes that are no longer safe to use
- Food containers without matching lids
- Appliances that are broken or rarely used
- Excess mugs, glasses, and serving dishes
- Gadgets that perform the same task as a tool you already own
Before donating kitchen items, make sure they are clean and in usable condition. Recycle or dispose of damaged items according to local guidelines.
Organize Your Pantry
Next, check your pantry and food storage areas. Remove expired food, identify ingredients you rarely use, and group similar products together.
Keep breakfast items in one area, baking ingredients in another, and frequently used staples where they’re easy to reach.
Use clear containers if they genuinely help you see what you have, but remember that you don’t need to decant every product to create an organized pantry.
Store food safely in suitable, airtight containers where needed, and keep cleaning chemicals separate from food.
My tip: Clear one section of your countertop and keep it available for food preparation. Store appliances you rarely use in a cabinet if you have space, but leave everyday essentials accessible. A functional kitchen is more useful than one that simply looks perfect.
3. Declutter Your Bedroom and Closet
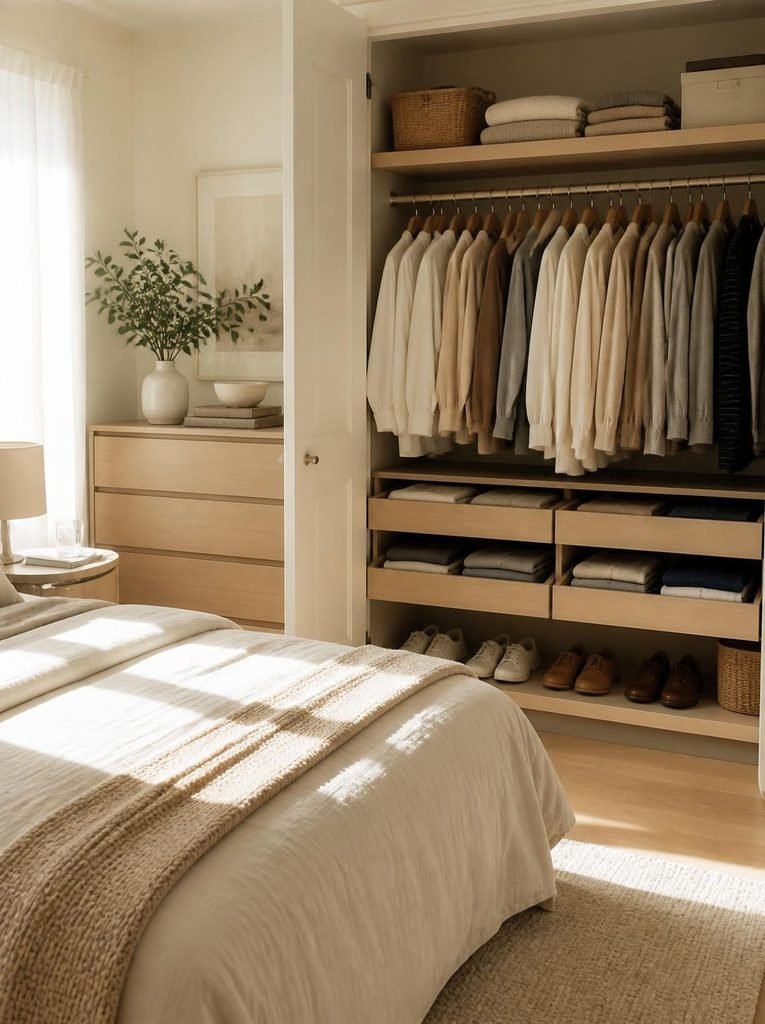
Your bedroom should be a comfortable place to rest, but clothing piles, overflowing drawers, unused accessories, and crowded bedside tables can make it difficult to maintain a relaxing environment.
The closet is often a good place to start because it can contain items you no longer wear, clothing that no longer fits, and duplicates you forgot you owned.
Instead of pulling every garment out at once, work through one category at a time.
Sort Your Clothing
Start with everyday clothing, then move to shoes, bags, accessories, and seasonal pieces.
As you review each item, consider whether it fits comfortably, suits your current lifestyle, and is in good condition.
Consider removing:
- Clothes that no longer fit and are unlikely to be worn
- Damaged garments that cannot reasonably be repaired
- Shoes that are uncomfortable or unusable
- Accessories you no longer wear
- Duplicate items you don’t need
- Clothing you have kept for years without a realistic reason to use it
You don’t have to discard sentimental clothing or special-occasion outfits simply because you rarely wear them. The aim is to make thoughtful decisions about what deserves your available space.
Create a More Organized Bedroom
Once your closet is sorted, move to the dresser, bedside tables, and other bedroom surfaces. Remove old receipts, empty packaging, unused beauty products, and anything that belongs elsewhere.
Store seasonal clothing in labeled containers, use drawer dividers for smaller items, and keep everyday essentials within easy reach.
If your bedroom is small, use the space beneath the bed for suitable storage containers rather than allowing spare items to collect in corners.
My tip: Keep your bedside table simple. A lamp, a book, and a few essentials may be all you need. Clearing this small area can make the entire bedroom feel more restful.
4. Declutter Your Bathroom
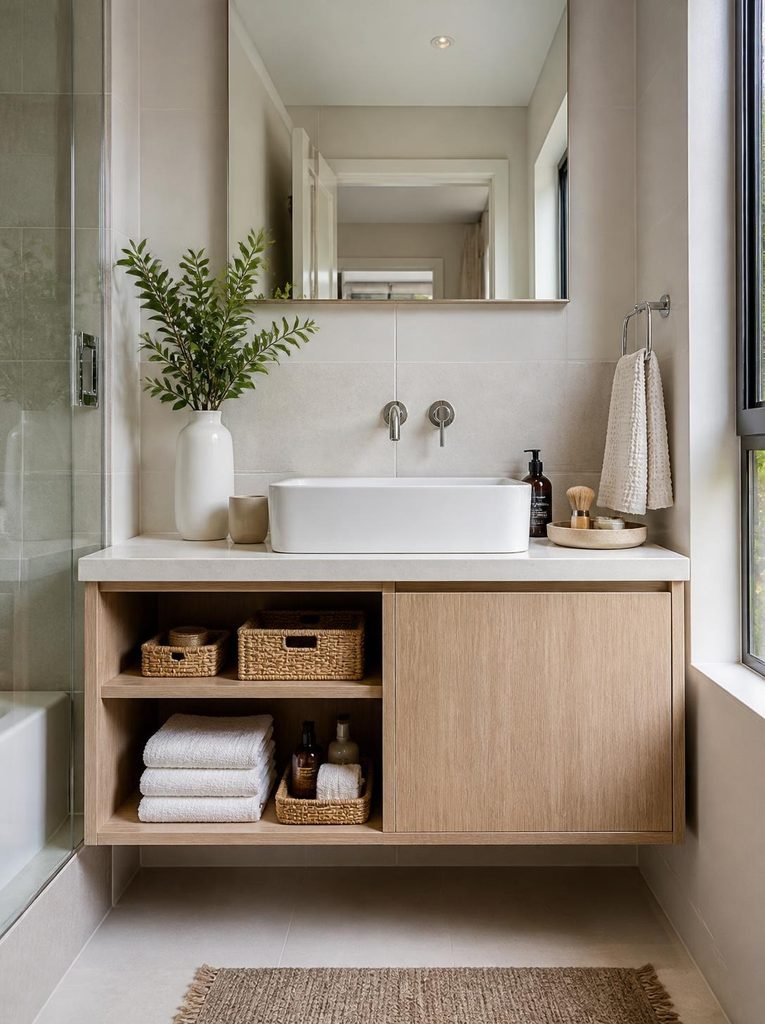
Bathrooms often have limited storage, which makes it easy for toiletries, skincare products, cleaning supplies, and spare towels to accumulate around the sink and inside cabinets.
Start by clearing the countertop. Remove everything, wipe the surface, and return only the items you use regularly. This simple step can make a small bathroom feel much cleaner.
Sort Your Bathroom Products
Check drawers, shelves, shower caddies, and under-sink cabinets. Group similar products together so you can see what you have before buying anything new.
Look for items to remove:
- Expired skincare and personal care products
- Empty shampoo bottles and cosmetic containers
- Products that irritate your skin or that you no longer use
- Old toothbrushes and worn-out grooming tools
- Duplicate products you don’t need
- Damaged organizers and unnecessary packaging
Follow product labels when disposing of cosmetics, medications, and household chemicals. Keep medicines and cleaning products away from children and pets.
Organize the Remaining Essentials
Use small bins to group skincare, haircare, dental care, and everyday toiletries. Keep frequently used products within easy reach and store spare supplies in a cabinet or drawer.
Fold towels neatly and remove worn-out ones that are no longer useful. If your bathroom is particularly small, a wall-mounted shelf or over-the-door organizer can help make better use of vertical space.
My tip: Avoid buying a complete set of matching bathroom organizers before decluttering. Once you know how many products you actually keep, you’ll have a better idea of what storage you need.
5. Declutter Your Home Office or Workspace
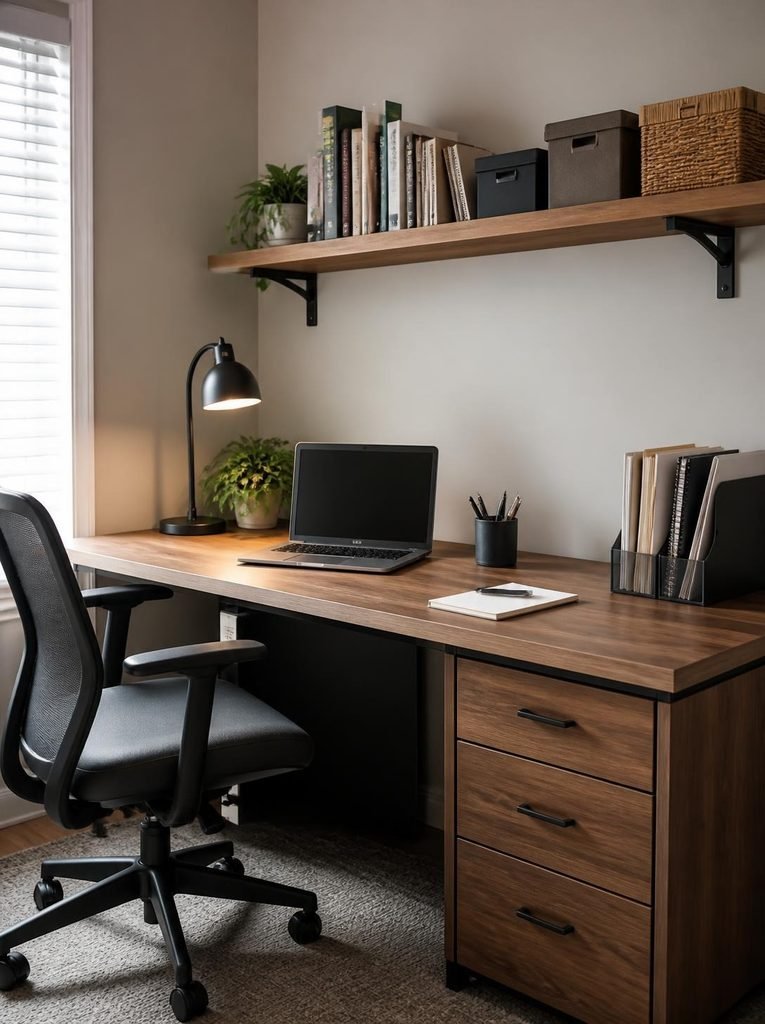
A home office can quickly become overwhelmed by paperwork, notebooks, stationery, cables, and electronic accessories.
Even if you don’t have a separate office, a desk or small workspace can collect clutter that makes it harder to concentrate.
Begin by clearing the desktop and sorting everything into categories. Keep important documents separate from papers that can be recycled or securely disposed of.
Sort Paperwork and Office Supplies
Look for items to remove or organize:
- Old notes and duplicate printouts
- Dried-out pens and markers
- Broken chargers and damaged accessories
- Unused notebooks and excessive stationery
- Outdated calendars and unnecessary packaging
- Documents you no longer need to retain
Be careful with personal, financial, and confidential paperwork. Shred sensitive documents when appropriate rather than placing them directly in ordinary recycling.
Create a Functional Workspace
Keep the items you use daily close to your desk. Use drawer dividers for pens and stationery, cable organizers for electronic accessories, and labeled folders for important documents.
If your desk is small, consider a vertical file holder or wall-mounted organizer rather than adding more containers to the desktop.
My tip: Keep only a few essentials on your desk, such as your computer, notebook, pen, and a drink. A clear workspace makes it easier to begin tasks without first moving piles of unrelated belongings.
6. Declutter Your Entryway
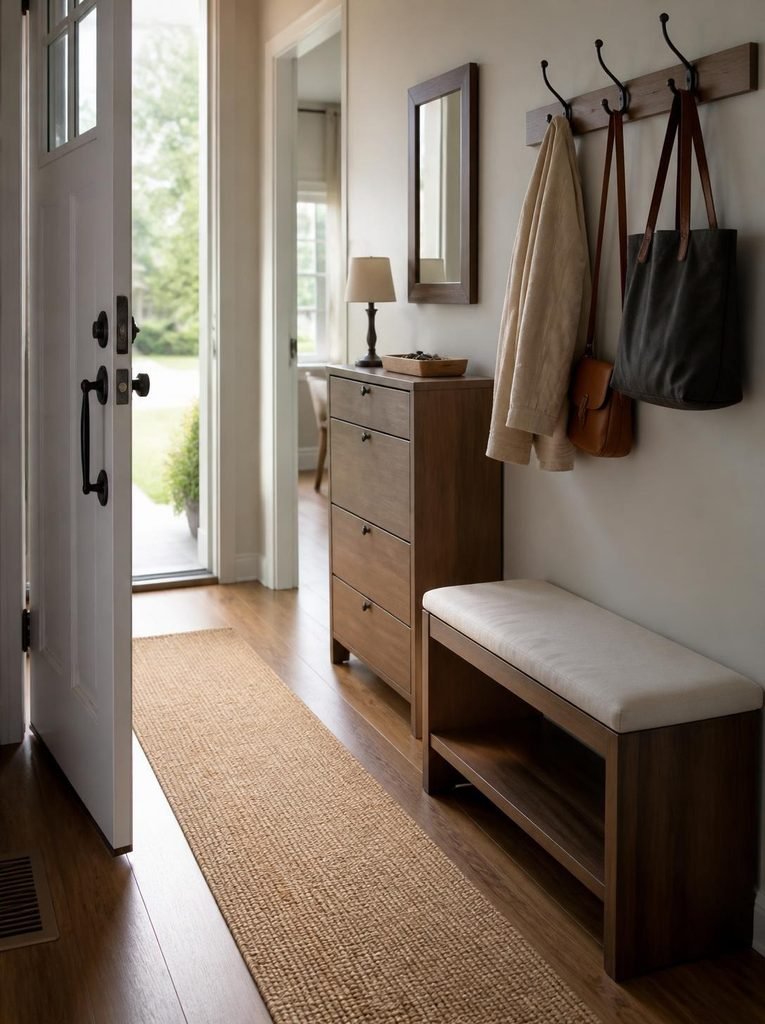
Your entryway is the first area you see when you come home, and it’s often where shoes, bags, jackets, keys, mail, and shopping items accumulate.
Because this space is usually small, even a few misplaced belongings can make it feel crowded. Creating a simple system for everyday essentials can make leaving and returning home much easier.
Remove Items That Don’t Belong
Start by clearing the floor, shoe area, console table, and hooks. Return misplaced belongings to their proper rooms and remove items you no longer need.
Things to declutter include:
- Shoes that are damaged or no longer worn
- Old shopping bags and empty packaging
- Unwanted mail and outdated flyers
- Broken umbrellas
- Excess jackets and accessories
- Keys you can no longer identify or need
Create a Simple Entryway System
Keep frequently worn shoes in a small rack or cabinet. Install hooks for everyday jackets and bags, and use a small tray or wall-mounted key holder to prevent keys from getting lost.
If you receive a lot of mail, create a designated sorting spot so envelopes don’t pile up on the nearest surface.
My tip: Keep the entryway floor as clear as possible. A narrow bench with shoe storage or a wall-mounted hook rail can be especially useful when space is limited.
7. Declutter Your Laundry Room
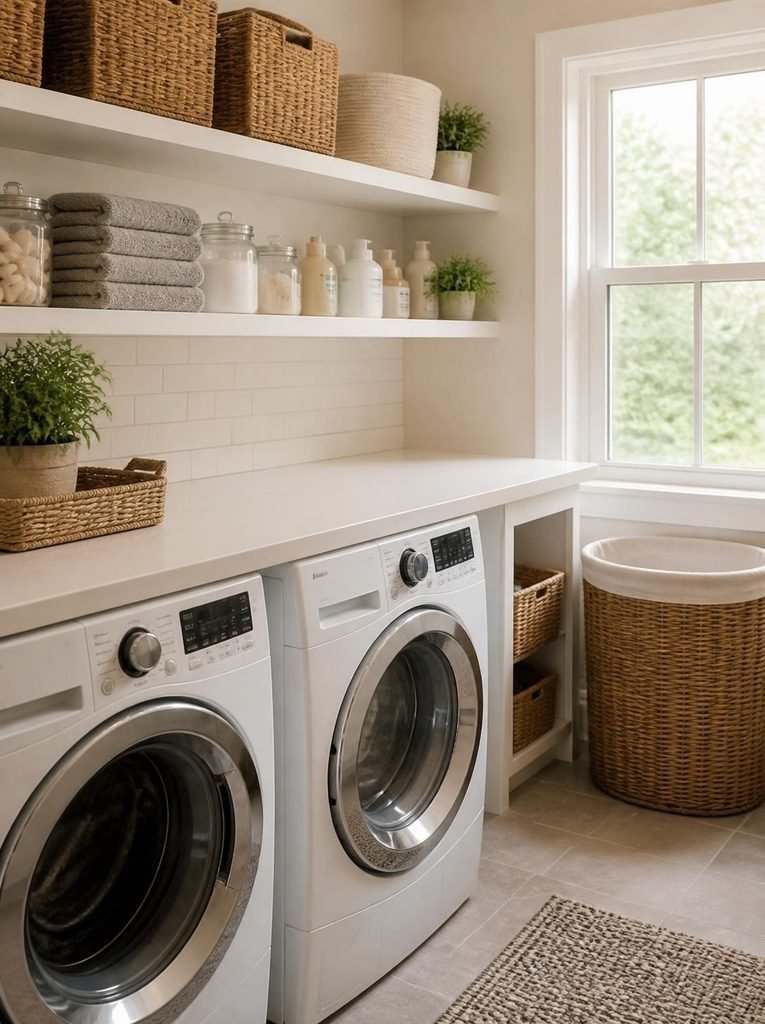
Laundry areas often become storage spaces for things that don’t have a home elsewhere. Detergents, cleaning supplies, spare hangers, laundry baskets, old cloths, and miscellaneous household items can quickly crowd the available shelves.
Start by removing anything that doesn’t belong in the laundry area. Then group your remaining supplies according to how you use them.
Sort Laundry and Cleaning Supplies
Check your cabinets and shelves for:
- Empty detergent containers
- Products you no longer use
- Worn-out cleaning cloths
- Broken laundry baskets
- Excess hangers
- Damaged accessories and unnecessary packaging
Follow the labels and local disposal guidelines for cleaning products. Never mix cleaning chemicals, and keep them securely stored away from children and pets.
Make Laundry Storage Easier to Maintain
Place detergent and laundry essentials together in a designated area. Use a basket for items that need repairs, keep clean cloths separate from used ones, and store frequently used supplies where you can reach them safely.
If space allows, use wall-mounted shelves above the machines, but make sure they are securely installed and do not obstruct appliance ventilation or maintenance access.
My tip: Keep a small container for stray items found in pockets, such as coins and hair accessories. Empty it regularly instead of allowing miscellaneous items to spread across the laundry area.
8. Declutter Storage Closets, Cabinets, and Garage Areas
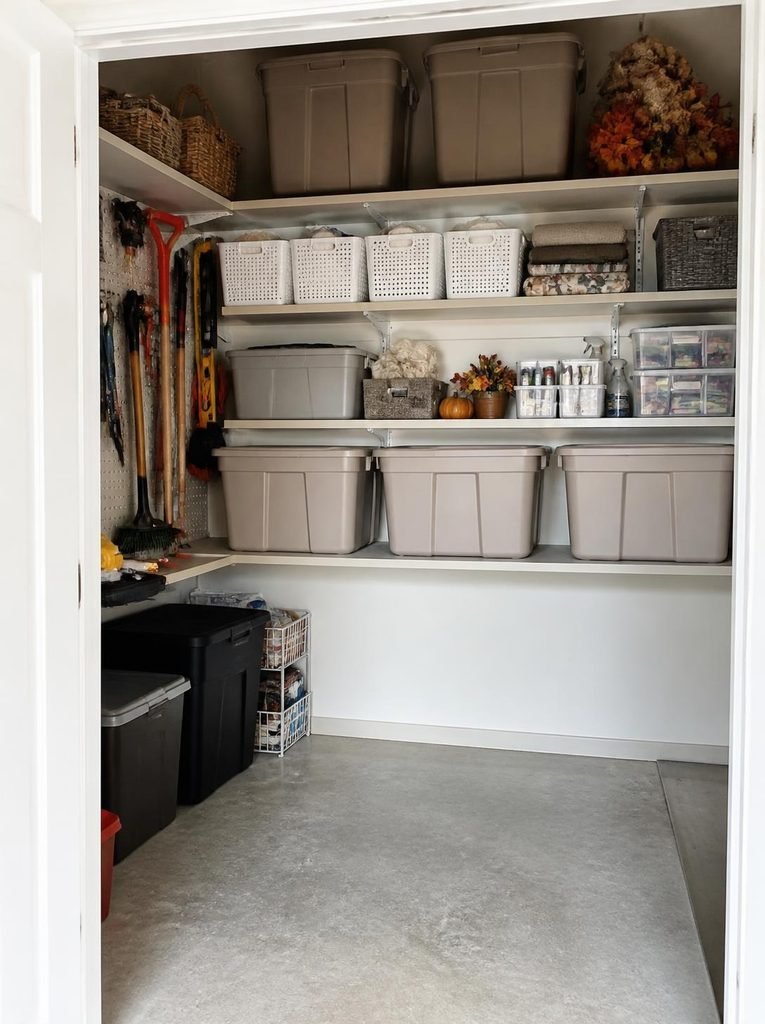
Storage areas can be the most challenging parts of a home to organize because they often hold belongings you’ve set aside to deal with later. Over time, those items can become difficult to identify, and you may forget what you already own.
Rather than emptying an entire storage room, choose one shelf, box, or category at a time.
Sort Items by Category
Start with one manageable section and group similar belongings together. You might find holiday decorations, tools, old electronics, sports equipment, spare linens, or boxes of miscellaneous household items.
Consider removing:
- Broken items you have no intention of repairing
- Duplicate tools or household accessories
- Decorations you no longer use or enjoy
- Old electronics and cables you cannot identify
- Empty boxes kept without a practical reason
- Items you’ve been storing without a realistic plan to use them
Donate usable belongings where appropriate, and recycle electronics through suitable collection programs. Dispose of hazardous materials according to local guidance.
Organize What You Decide to Keep
Use sturdy containers suited to the items being stored. Label boxes clearly and group related belongings together so you can find them without opening every container.
Place frequently used items in accessible locations and reserve higher shelves for lighter, occasional-use belongings. Keep heavy objects low and avoid stacking containers in ways that could fall.
My tip: Be honest about why you’re keeping something. If you haven’t used an item in a long time, ask whether it has a genuine purpose, sentimental value, or a realistic future use. You don’t have to keep something simply because you’ve already stored it for years.
How to Decide What to Keep, Donate, or Throw Away
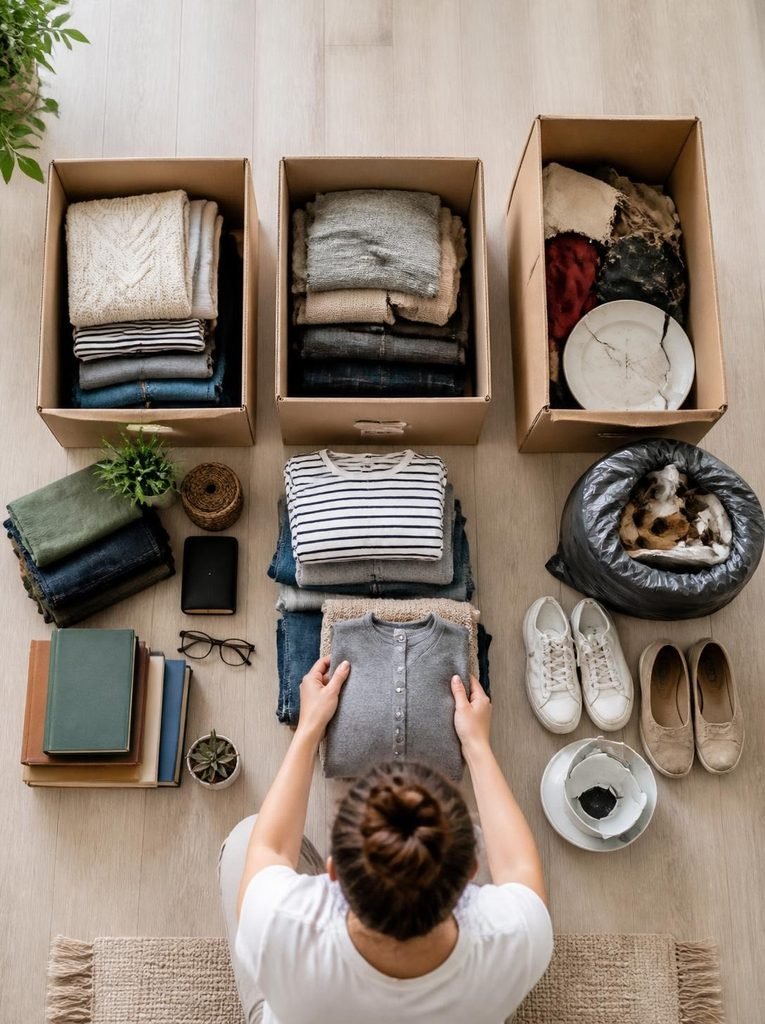
One of the hardest parts of decluttering is making decisions about individual belongings. It can help to use a simple sorting system so you don’t spend too much time reconsidering the same item.
Try these four categories:
- Keep: Items you use regularly, genuinely enjoy, or need for a specific purpose.
- Donate: Clean, functional belongings that someone else could use.
- Recycle: Materials and items accepted by your local recycling service.
- Dispose: Broken, unsafe, contaminated, or unusable items that cannot be reasonably repaired or recycled.
You can also create a temporary box for items you’re genuinely uncertain about. Label it with a review date and store it somewhere out of the way. If you don’t need the items during that period, revisit whether keeping them makes sense.
Avoid using uncertainty as a reason to create dozens of extra boxes. The goal is to make decisions, not simply move clutter from one room to another.
How to Keep Your Home Clutter-Free
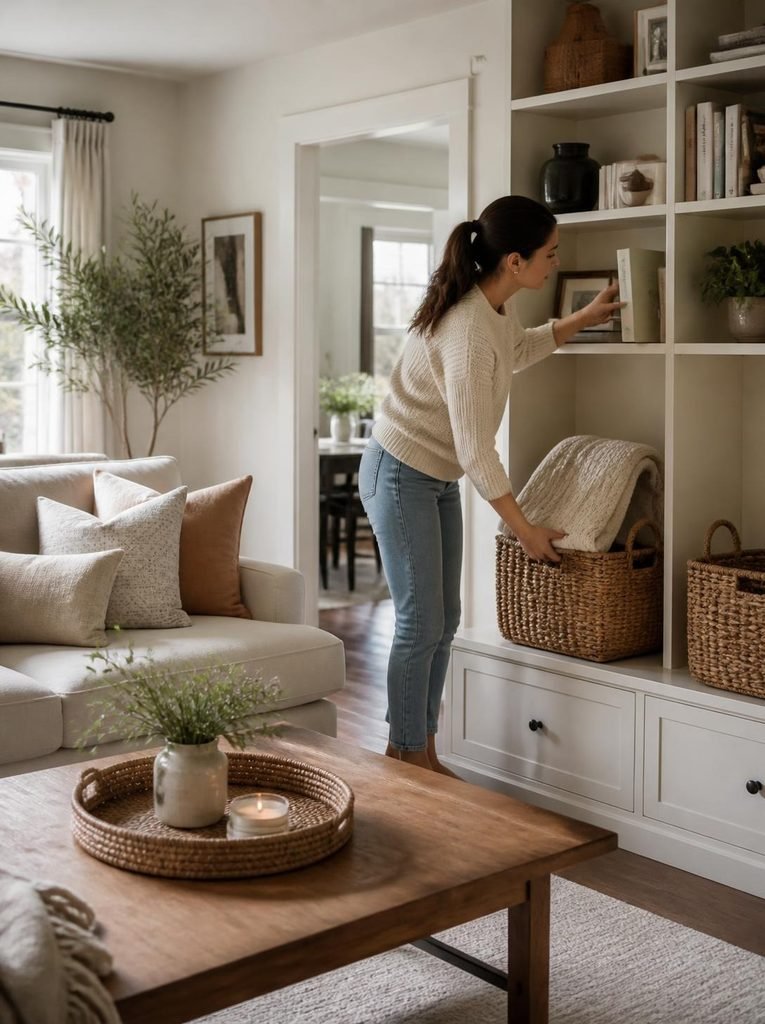
Decluttering works best when you build small habits that prevent belongings from accumulating again. You don’t need to spend hours organizing every day.
Here are a few habits worth trying:
- Reset one room each evening. Spend a few minutes returning misplaced items and clearing surfaces.
- Put things away after use. Returning an item to its designated place reduces the chance of creating another pile.
- Review incoming belongings. Before bringing something home, consider where it will be stored and whether you actually need it.
- Declutter regularly. Revisit drawers, cabinets, and closets every few weeks or whenever they begin to feel crowded.
- Avoid buying organizers too quickly. Use what you already have before purchasing additional storage products.
- Make decluttering manageable. Set a timer for 10 to 15 minutes and focus on one small area rather than trying to finish everything at once.
Consistency matters more than perfection. A home can be organized and still look lived-in. The goal is to create spaces that support your daily routines, not to make every room look like a showroom.
Final Thoughts
Learning how to declutter your home room by room makes a large organizing project easier to manage. By starting with visible surfaces, sorting belongings by category, and creating practical storage systems, you can gradually make every area more functional.
Start with the room that causes you the most frustration, whether that’s an overcrowded kitchen, a cluttered bedroom, or an entryway filled with shoes and bags. Complete one small section before moving on to the next.
Remember that decluttering doesn’t mean getting rid of everything you own. It’s about making thoughtful choices, keeping what serves you, and giving the remaining belongings a place where they can be used and enjoyed.
With a realistic plan and a few consistent habits, you can create a home that feels more comfortable, easier to clean, and better suited to your everyday life.